
I’d love to connect with you! Sign up for my monthly newsletter, "Garden Bliss & Blunder”
DIGGING DAHLIAS
in the Fall
10 easy steps for Digging Dahlias
But first, a bit of history.....
Dahlias have never been on my list of favourite flowers… till now.
A couple of years ago, at a Master Gardener Conference in Haliburton, Ontario, every attendee was given a small brown paper bag with the words “Muskoka Sunrise” written by hand.
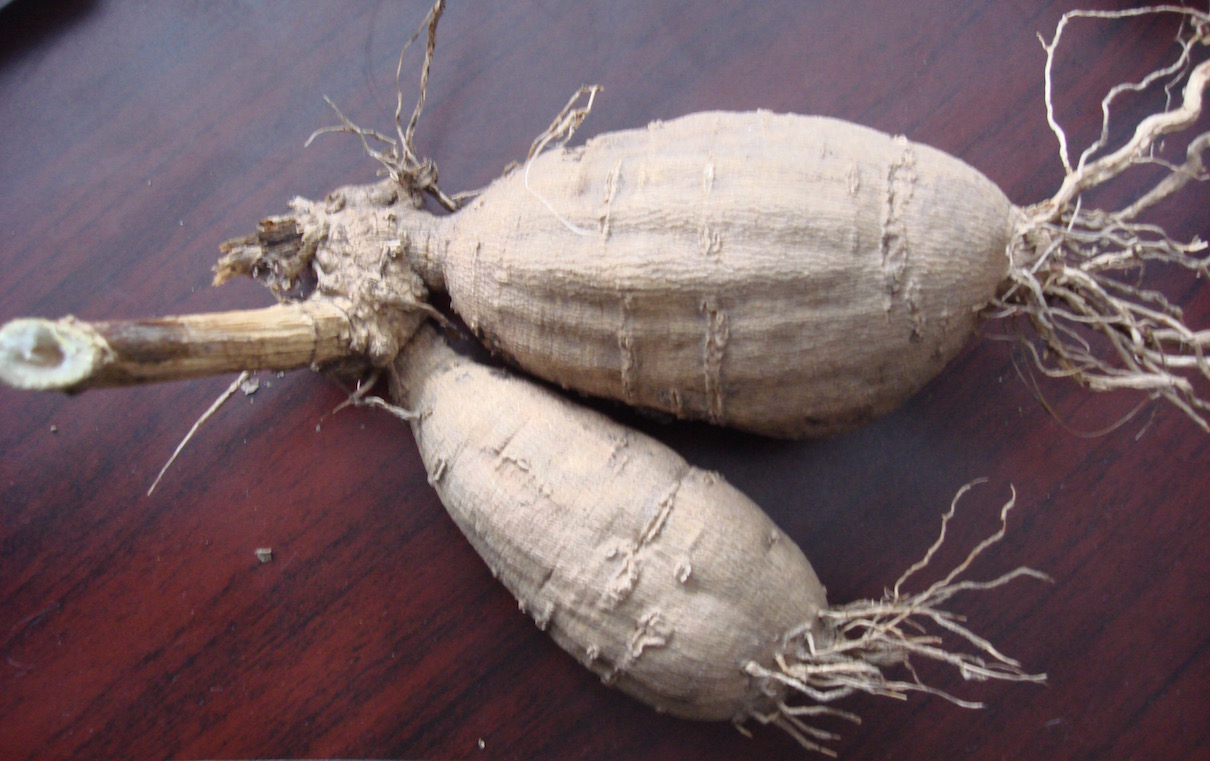
Inside, was a small, round thing that looked rather like a potato with a bit of root attached. We were told that a local and passionate gardener, made each one of us as his “gift”.
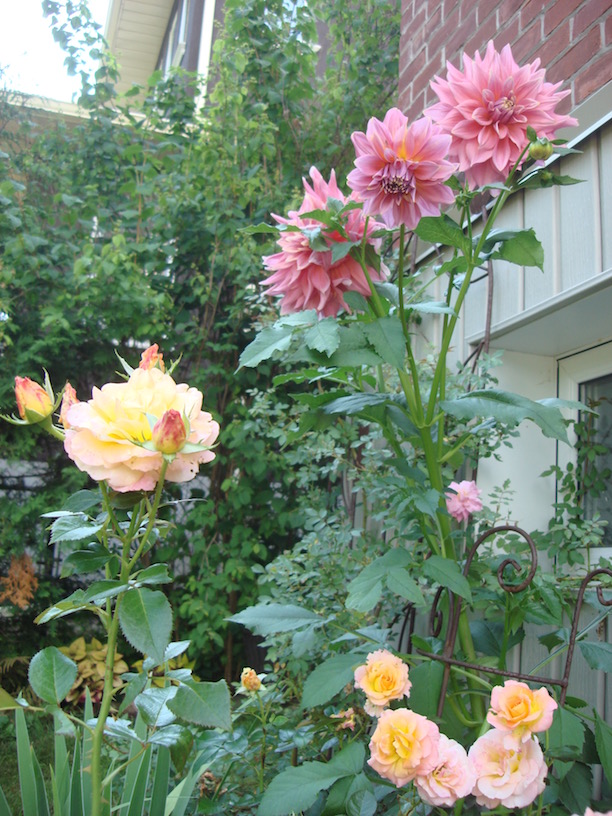
I knew it was a Dahlia, and I shamefully admit that although I was honoured by the effort and generosity, I wasn’t too keen on planting a Dahlia in my garden. I had only seen them 10 feet tall, staked with ugly sticks and tied with bits of rag or old stockings… ugh…and even though they did have lovely, large nodding heads at the top of a “Jack-in-the-Beanstalk” kind of plant. the concept didn’t quite fit into my small artsy garden.
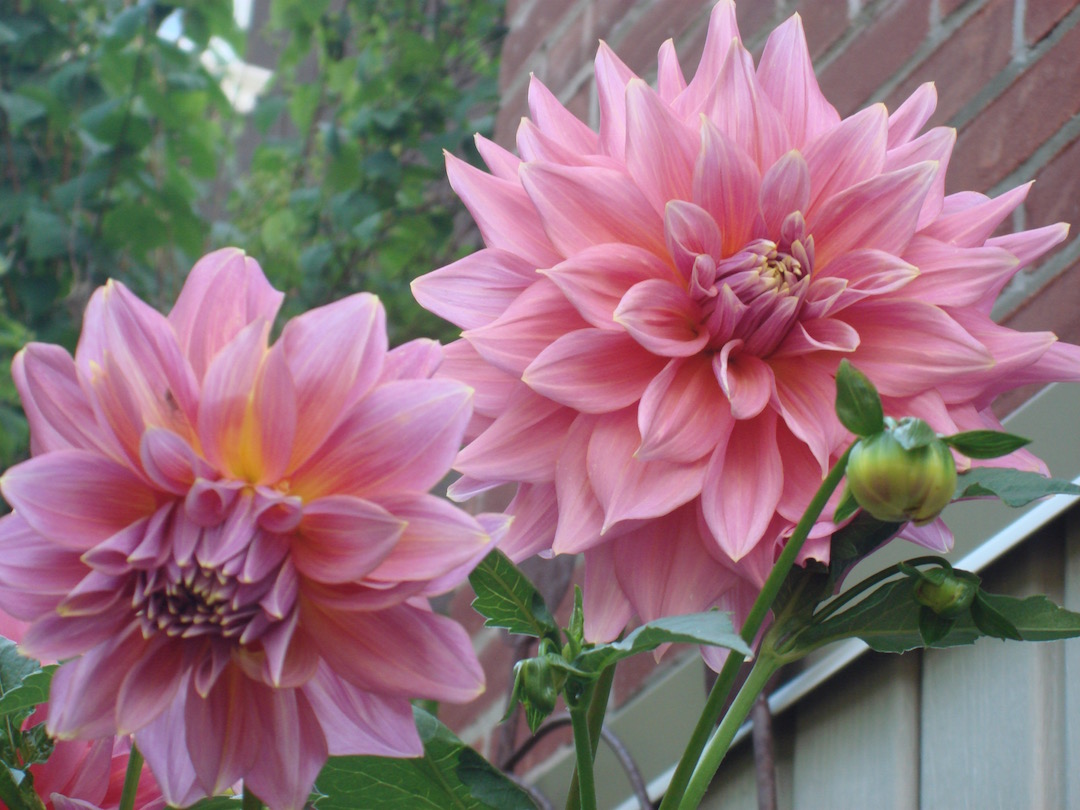
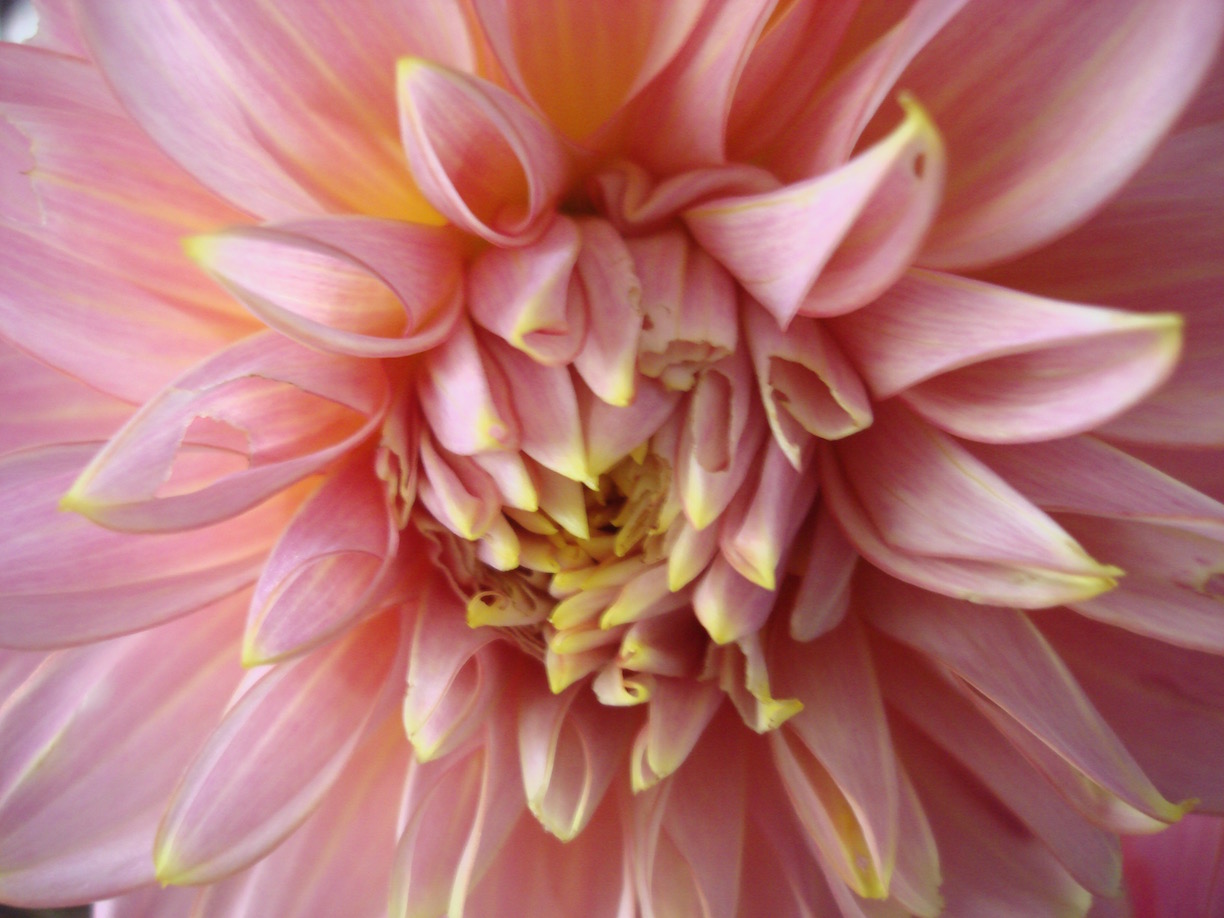
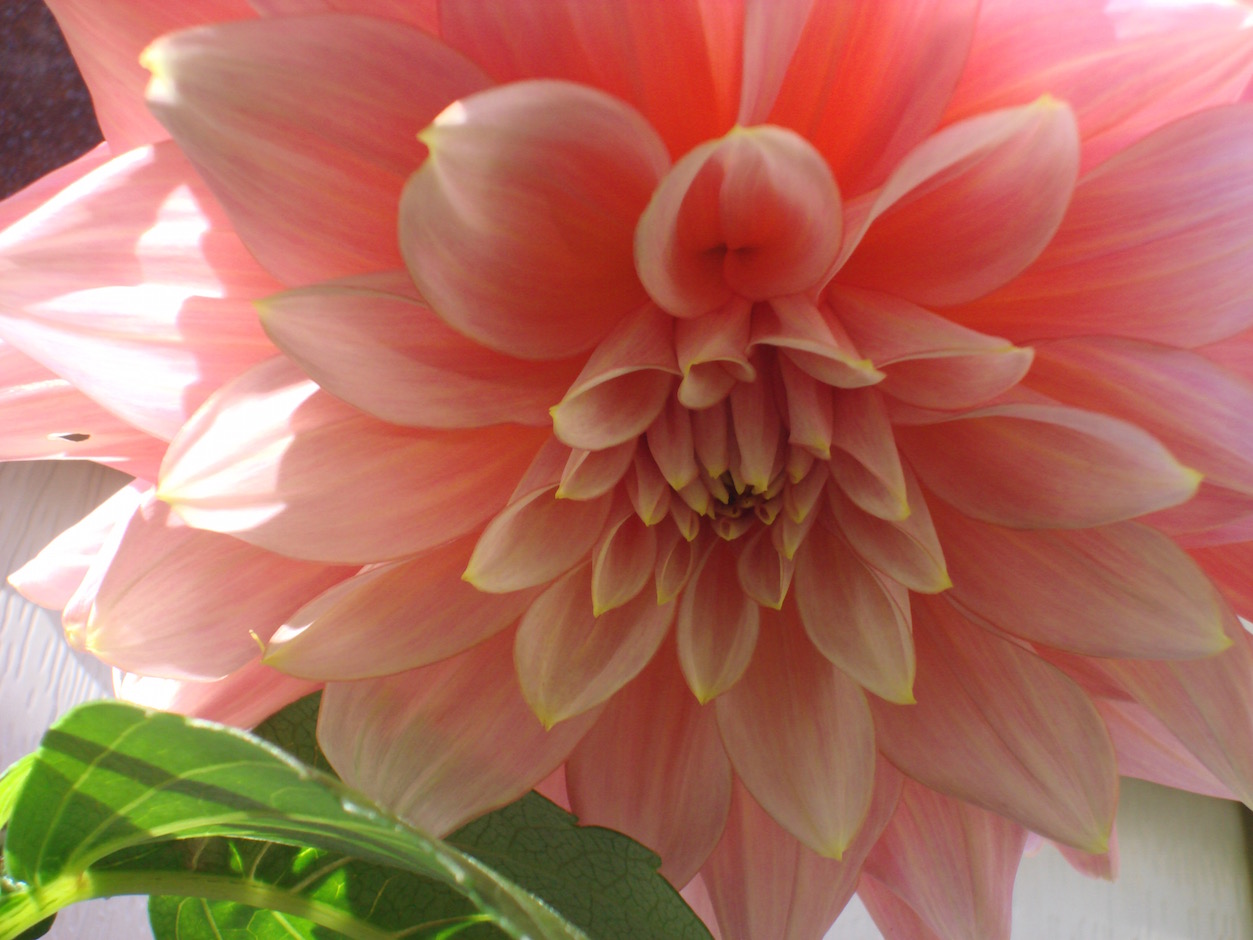
But, plant it I did… and it grew. I put it in the back where it would be hidden if it did not grow.. but oh my goodness, it did. The flower was as big as a dinner plate and the shades of a pale and glorious sunset were true to the name he gave it.
Needless to say, I was hooked.
But that first fall, I decided to dig it up and take it in - like my research said… but I was in a hurry… so many things to dig up…and imagine my surprise when I sliced off a piece because the tuber had grown so much bigger. The slice is hidden on the backside of the large tuber.
I apologized to it - dried it off, and put it into another brown bag with its name in big bold letters.. and off to a dark corner of the basement. I planted it this past Spring, and here is the result.
(oh, and it won second place in our Horticultural Society Flower Show in Sept.! )
 |
 |
Now, saying all this and having this glorious flower grow from my ill-prepared and rather reckless handing, does not mean it was the right way to handle it.
So this year, I will do what the experts say. (This of course, is for those of us who garden where there are cold winters…. zone 5 and below, perhaps).
Here is the the advice that seems the simplest.
Here are my 10 easy steps to digging dahlias.....
1. When the frost turns the stalks almost black, cut them back leaving a stem of 4- 6 inches.
2. But wait at least 5 to 7 days before you dig so the the eyes have a chance to begin to swell (these will be sprouts next spring) otherwise you will not be able to see them when you split off the smaller tubers for new plants.
3.Using a garden fork, push down at least 8 inches from the stem (for shovels, at least 12 inches) and continue all around it. Recklessness and haste can damage the neck and the roots. leaving cracks and slits for infections and fungus.
4. Lift gently, letting earth fall off. Wash the tuber(s) carefully.
5 .Begin to search for the small eyes that will sprout.
6. If there is no eye, there will be no plant or bloom. (for photos, see www.dahlias.net)
7. Carefully cut away each tuber that has at least one eye - usually you will need part of the stem as well.
8. When they are very dry, I store mine in a paper bag - labelled - and in a cardboard box so no light will get in- if it does, it will think it is time to sprout and that its dormancy is over…. not good… Some folks store in vermiculite, sawdust etc.
9. If you have a lot of different types, or colours, be sure to keep them separate.
10. Now wait till Spring and look at your photos of those glorious blooms you took this year… you did, didn’t you?