
I’d love to connect with you! Sign up for my monthly newsletter, "Garden Bliss & Blunder”
OUTDOOR ARRANGEMENTS
This is the time we put away the pumpkin and get out the greens… greenery that is. Now that Fall is leaving us behind, we are starting to think about holiday trimmings to make the white of winter more colourful.
With a bundle of mixed green branches and a few baubles, we can add some colour to the outside (or inside) of our homes.
Just six easy steps…
Although the shops make gorgeous arrangements, you can do your own with a bit of the basics and some imagination.
Most greenhouses, and even grocery stores, sell mixed bundles of green branches:
Red pine (with its long stiff needles)
White pine with soft drooping needles
Cedar, spruce, boxwood and hemlock are some of the branches in a mixed bundle.
You can also go to the country and trim some evergreens - BUT, don't do this unless you know how to prune... you could kill the tree or shrub, or even stunt its growth... folks who cut evergreens for sale, do it systematically, and they know what to cut and when... so support your local greenhouse instead.
Please don’t use this time to trim your own evergreens unless you are sure about what you are doing. Bare stems in the summer won’t make up for free greens now. However, you can prune YEW now and take some branches - careful not to leave bare spots, though.
One:
Start with your favourite greenery and then gather up some things you like, baubles and berries and go from there.
Keep things simple; sometimes, less is more.
Decide if your arrangement will be seen only from the front or from all sides. In my outdoor urns, they are viewed from three sides.
For Example: for some unknown reason, we saved some gnarly dead branches and this year, painted them white. The have that sort of "Grinch-y" look and add some whimsy.
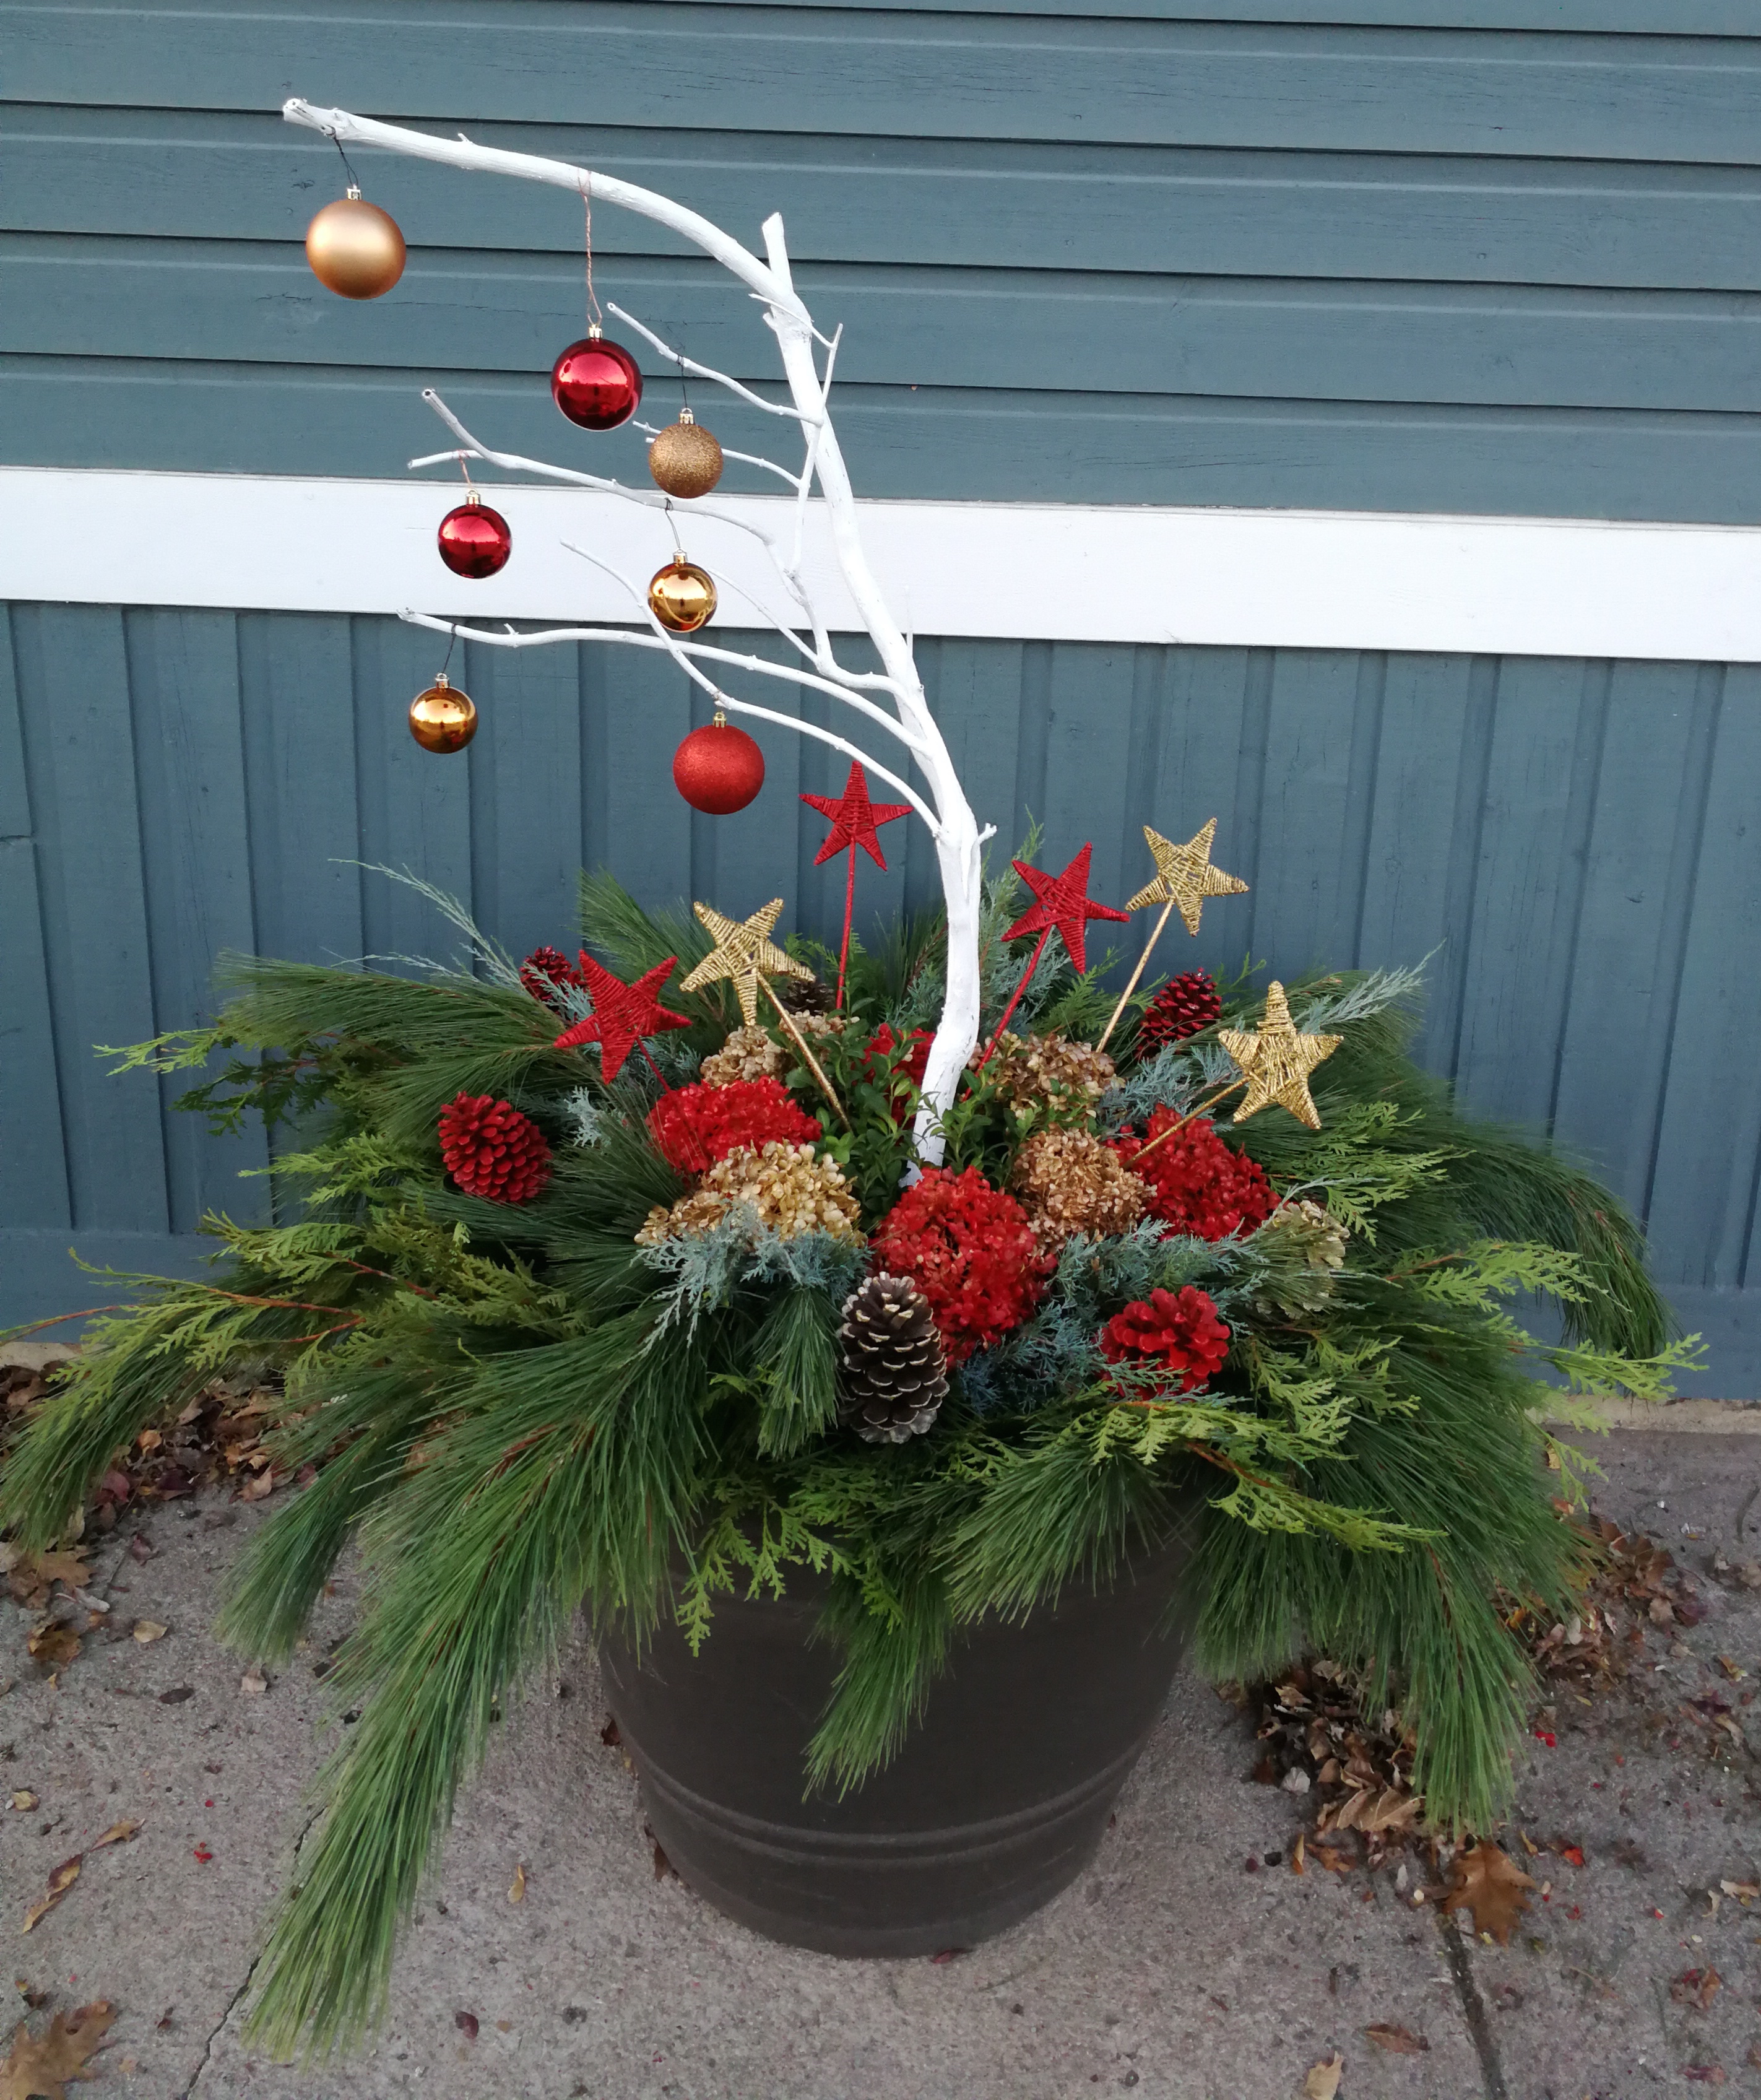
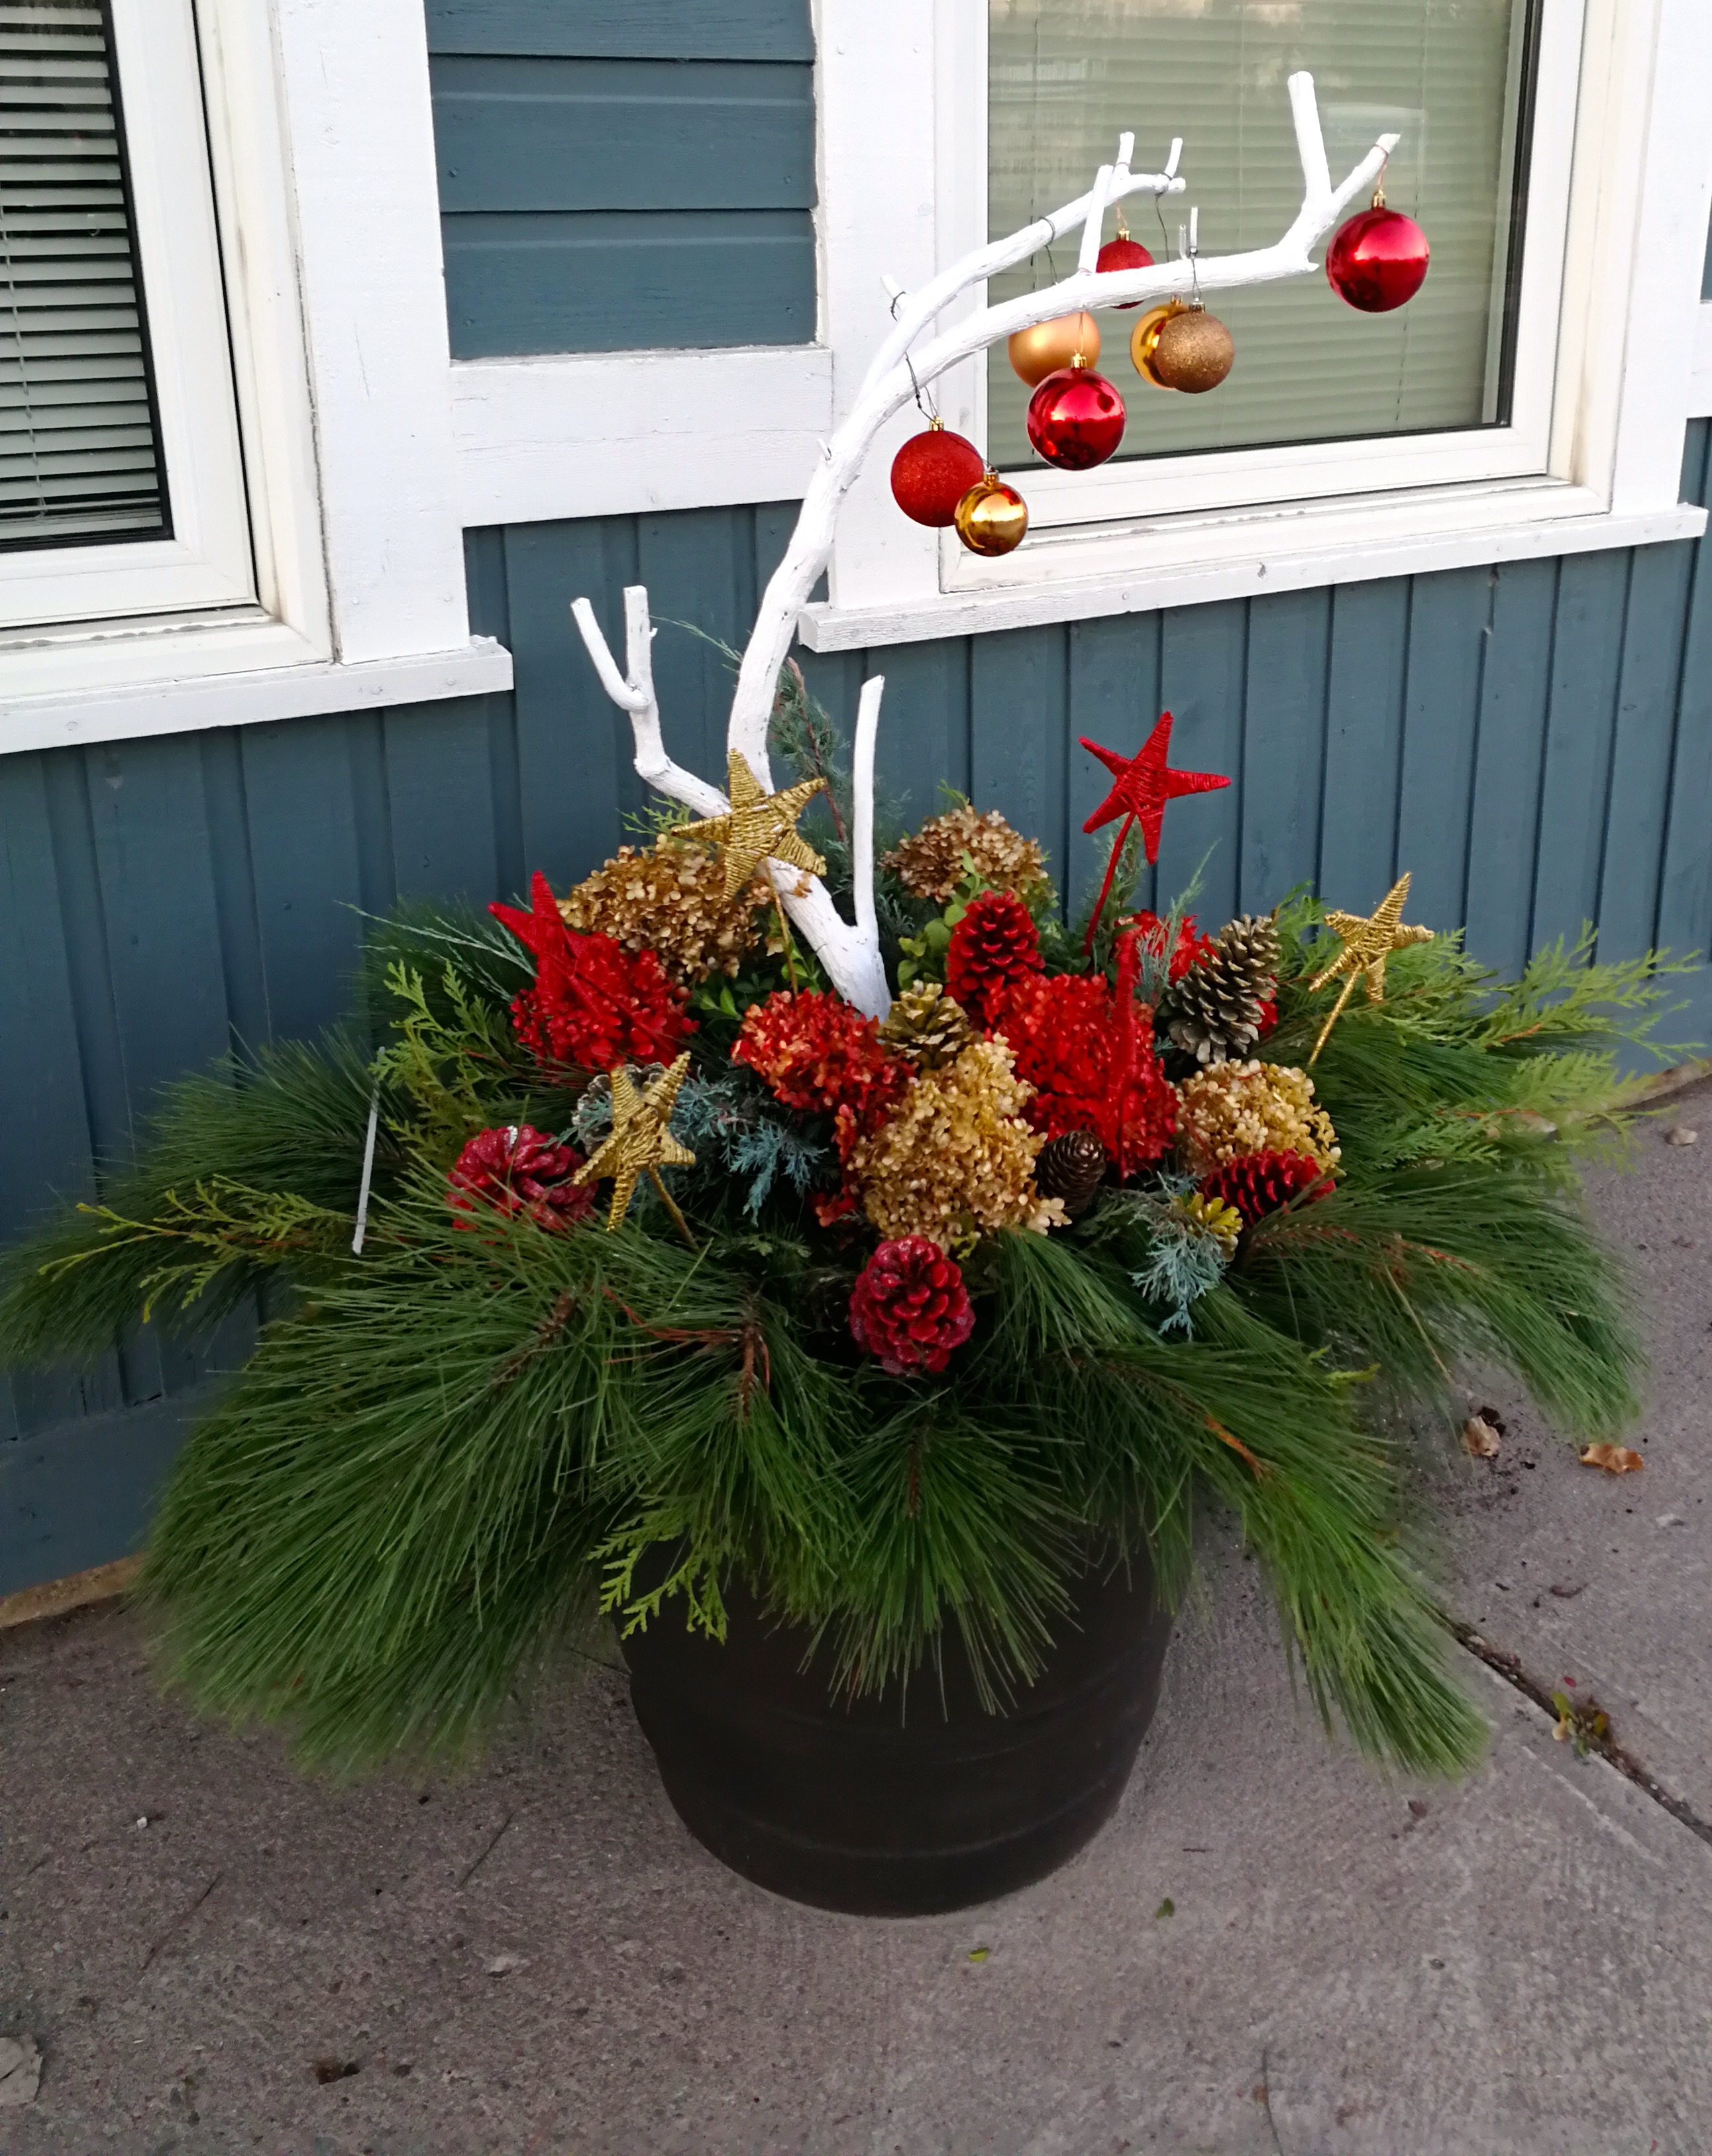
We also used Hydrangea heads sprayed red and gold, along with some stars and glass balls...
Two:
Take what pot you have, fill it with earth and wet it down. (If the earth in your pot is frozen, pour a kettle of very hot water over it.) If you use that spongy “oasis” outside, it will dry out, crumble and your lovely arrangement will be blown far and wide, most likely scattered throughout your neighbourhood
Three:
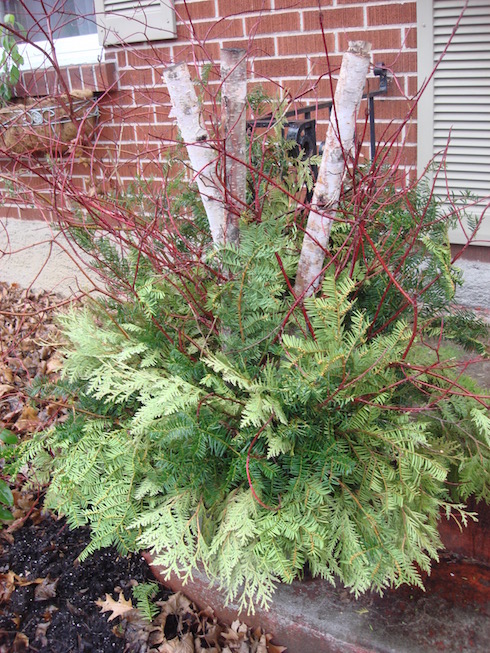
I start with bunching lots of my tallest and thinnest branches in the centre (red dogwood this year) but you could use yellow dogwood, curly willow, white birch sticks, or any coloured branches you like…
Use your cutters to trim off branches you don’t like, don’t fit or are in the way. Taper the ends to slide into the earth easily… and save the little bits for another arrangement indoors.
Four:
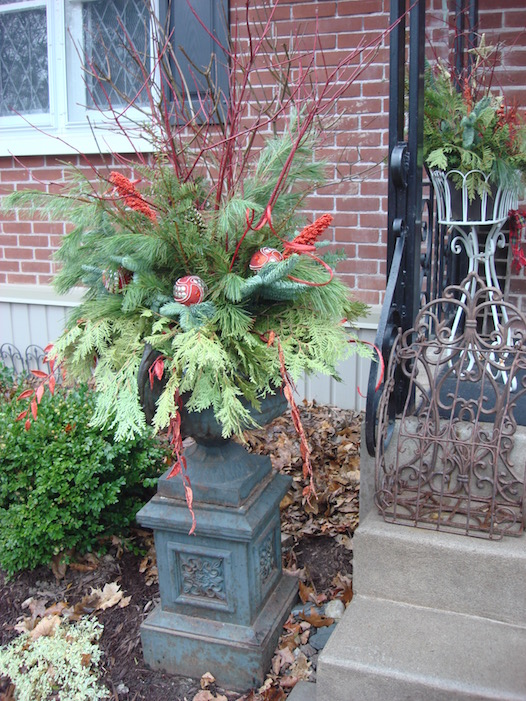
Next, choose some firm branches to stand up like soldiers around the centre sticks; thick branches of boxwood, blue spruce as in the photo, or thick red pine work well.
This forms a sort of crown around the centre branches and holds them firmly in place.
Five:
Your next layer can be the branches that lay almost flat around the base and hang over the edge to soften it all… I used Ontario white cedar and turned it over to show its lighter side… it makes a really nice colour contrast and looks lacy around the edges.
Six:
Above the cedar , fill in those bare spots with more pine, some hemlock or any other green. Most of my boughs are to the front and sides, but I still fill in the back.
You can stop there and leave it simple and elegant like the one with the Birch sticks.
Or now that you have filled in any bare spaces with a variety of greens, you are ready for the best part…
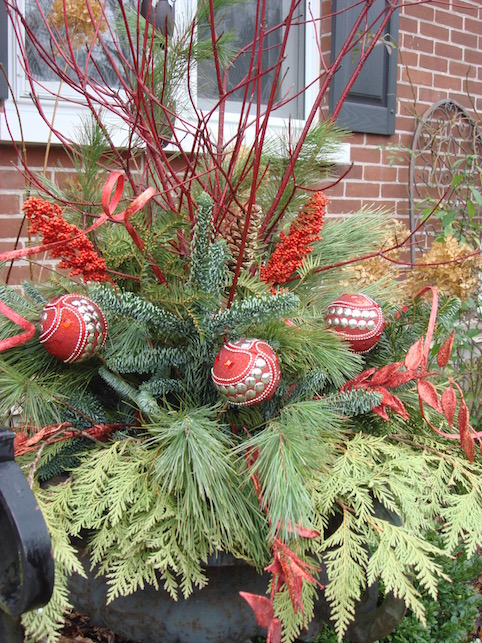
Add some colour, bling or anything that is fun, elegant or different… depending on the look you want. For me this year? I went with the traditional red and green…
Carry on if you like…..You can add coloured balls, birds (fake, please), Sumac, Hydrangea blossoms (best picked when still green in October), feathers, milkweed pods (natural or sprayed) etc.
You can also add ribbon or bows, but make sure you use outdoor ribbon and don’t let the ribbon overpower the arrangement. Scale is important for an overall impression.
My urns are Victorian, so I have done them in a more formal style but let your imagination run with what you love but most of all, have fun.
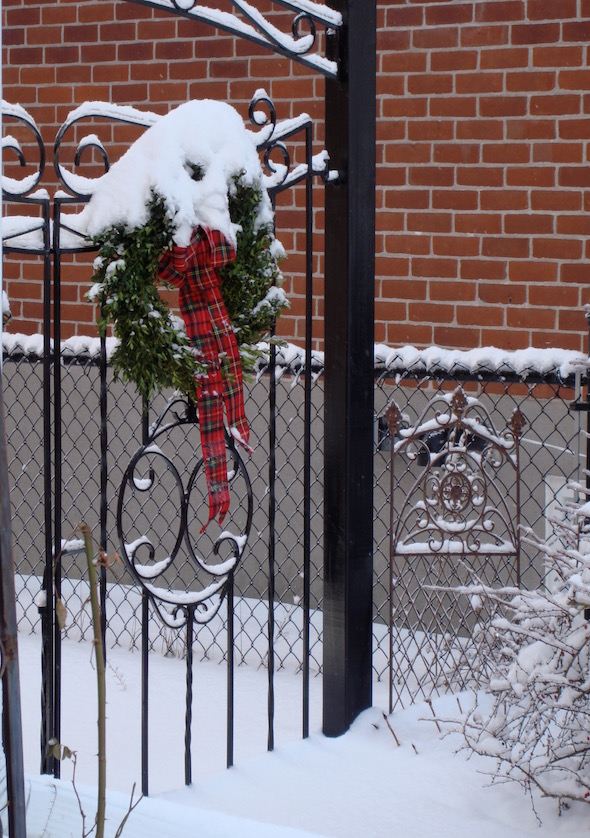
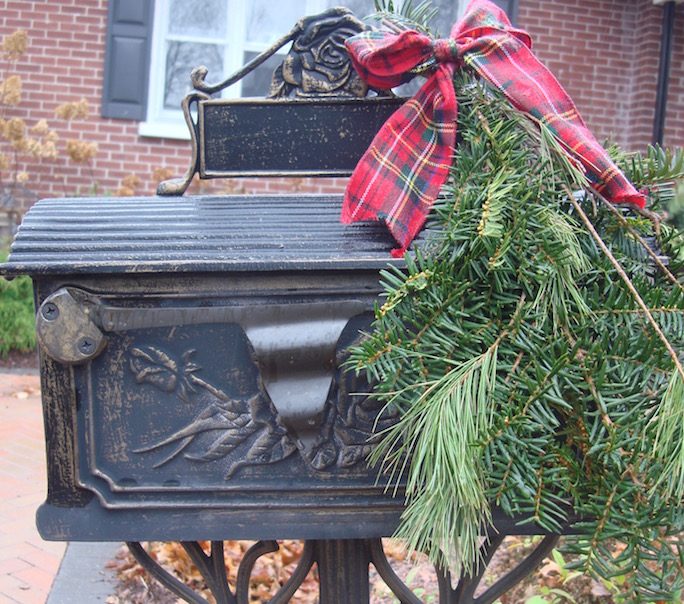
Tie together some of your leftover branches with a piece of ribbon and attach them to your gate, your mailbox, fence or the hood of your car….
Try everything and if you don’t like it, do it over… there are no hard and fast rules except to have fun and choose what you love - it will all work.